
If there’s one thing I’ve learned while working on sites, it’s this — never trust sand just by how it looks. You might see golden grains shining under the sun and think, “This is good sand.” But appearances lie. One bad truckload of sand can quietly ruin your plaster, weaken your concrete, and create endless hairline cracks.
Good sand isn’t just about color or texture. It’s about purity and grain balance, and fortunately, checking that doesn’t need fancy lab tools. You can do it right at the site — with nothing more than a simple bottle of water.
The Water Jar Test
Here’s the trick most experienced masons use — and it works every time.
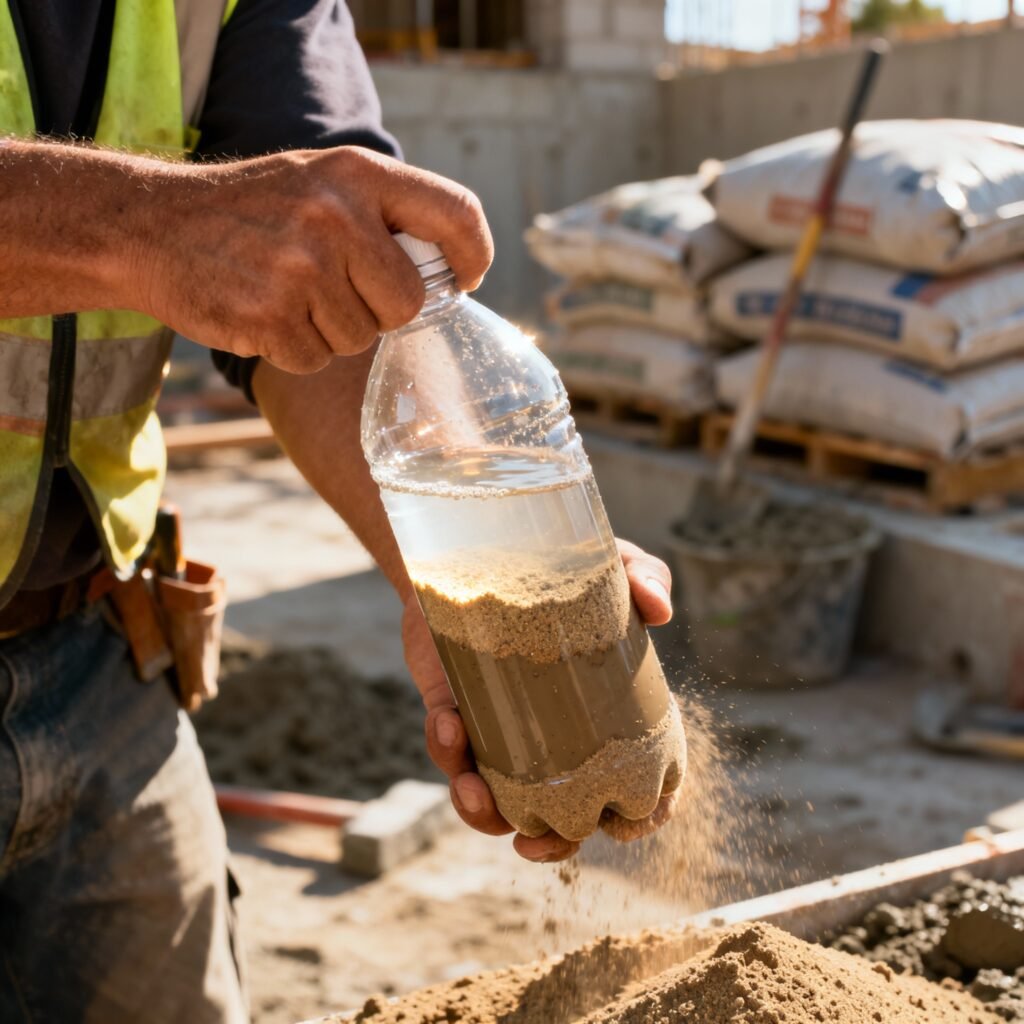
Take a transparent bottle or jar, fill it halfway with the sand sample, and top it up with clean water. Shake it well and let it sit for five minutes.
Now observe.
If the water turns muddy and a thick layer of fine silt settles above the sand, that’s a red flag. It means the sand has too much clay or dust — both of which reduce bonding strength in mortar and concrete.
Good sand will settle cleanly at the bottom while the water clears up on top. That’s when you know the sand is fresh, well-graded, and worth buying.
This tiny step — a bottle, five minutes, and your eyes — can save you from spending thousands later on repairs.
Why This Simple Test Works
Silt and clay are the hidden enemies of construction. They make your mix sticky and weak. Over time, plaster done with dusty sand starts cracking because the cement never bonded well with the grains.
Dealers often mix quarry dust or crusher waste into river sand to increase volume. It looks fine when dry, but its performance in plaster or RCC is drastically lower.
A small on-site check before unloading the sand truck is enough to avoid an entire batch of poor-quality material.
If you’d like to go beyond this simple method, there’s an excellent technical guide from Brick & Bolt that lists 10 scientific ways to check sand quality. It’s worth a read if you want to understand how professional labs evaluate your sand before it ever reaches the site.
A Quick “Palm and Drop” Check
If you don’t have a bottle handy, here’s another old-school trick that never fails.
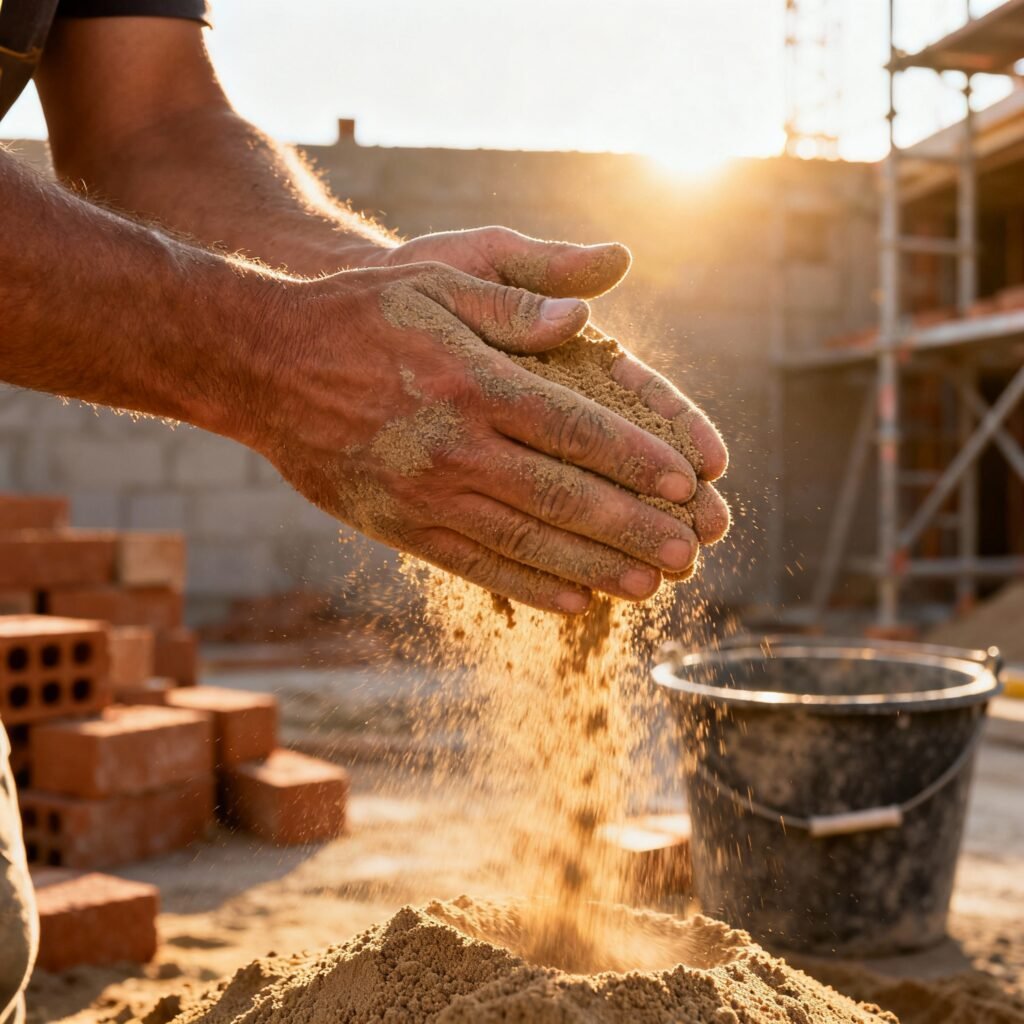
Grab a handful of sand, rub it between your palms, and drop it slowly.
If your hands feel sticky or dusty, the sand has too much clay.
If it slips easily and leaves no residue, that’s a good sign.
Also, drop a pinch from your hand — if it falls freely without clumping, you’re holding clean, coarse sand.
You’d be surprised how accurate this test can be once you’ve done it a few times.
Don’t Skip the Moisture Factor
Many people buy sand during the monsoon or right after rain because prices drop. But that’s exactly when sand holds excess moisture, hiding its impurities.
Wet sand looks clean and uniform, but once it dries, the silt content becomes obvious. Always test dry samples when possible — or at least from the inner section of the truckload.
And if the sand feels too fine, it’s better to mix it with slightly coarse sand before using it for plaster or RCC. Balance is key to both strength and finish.
Planning Your Material Smartly
People often spend days comparing cement brands but hardly ten minutes checking sand. Ironically, sand quality can impact 60–70% of your concrete’s final strength.
Good planning is all about knowing what you’re paying for.
Before finalizing your purchase, estimate how much sand you’ll need for each phase of construction — from brickwork to plastering.
A Few Field Tips from Experience
- Always test before unloading. Once the truck empties, your leverage to reject poor sand is gone.
- Avoid overly fine sand. It needs more cement to achieve strength.
- Look for mixed grain sizes. It improves compactness in concrete.
- Store properly. Keep sand on a dry platform away from mud and runoff water.
These might sound small, but that’s exactly where most mistakes happen. Construction isn’t about one big decision — it’s hundreds of small checks done right.
Final Thought
Building a home isn’t just about what you add — it’s also about what you reject.
The easiest way to ensure quality is to question what goes into your mix. Sand may look ordinary, but it decides the strength, finish, and lifespan of your entire structure.
So, next time a sand truck backs up to your site, take a minute to test it.
Because strong foundations don’t start with cement — they start with a handful of clean sand and a bit of attention.
One thought on “Simple Trick to Check Sand Quality Before Buying”