
Last winter, during a site visit in Nizamabad, I saw something that made every engineer’s heart sink.
A freshly delivered pile of cement bags was stacked neatly in one corner — but when the workers opened a few bags, the cement had already turned into hard lumps.
“Sir, these bags are only 10 days old!” one mason said helplessly.
That’s all it takes — 10 damp days to turn perfectly fine cement into a useless heap of dust and chunks.
Most people blame poor cement quality, but the real culprit is poor storage in cold and damp weather. Cement may look like dry powder, but it reacts even with moisture in the air.
If stored carelessly during winter — when humidity stays high and air is cooler — your cement starts setting inside the bag itself.
That’s why understanding how to store cement properly in these conditions is not optional — it’s essential. Whether you’re a homeowner, site supervisor, or small contractor, this simple knowledge can save you thousands of rupees and, more importantly, ensure the long-term strength of your building.
Why Cement Is Sensitive to Weather
Cement is a hydraulic binder — it reacts with water to form strength-giving compounds.
But here’s the thing: it reacts not only with liquid water but also with moisture vapor present in the air.
When humidity is high, cement particles begin to partially hydrate even before mixing.
This leads to:
- Formation of small lumps or cakes inside the bag.
- Reduced setting time.
- Poor binding strength once used.
- Inconsistent concrete quality.
In cold and damp conditions, the problem worsens because:
- Air moisture increases (cold air holds less vapor but stays near the dew point longer).
- Condensation forms easily on floors and walls.
- Ground surfaces remain wet due to slow evaporation.
So even without visible water contact, the cement silently absorbs moisture through the bag — and loses its strength.
Real-World Example: How a Site Lost 25 Bags in 3 Days
A few winters ago, a small housing project near Warangal stored 60 bags of cement under a temporary tin shed.
There was no floor platform, just plain soil underneath.
After three days of steady morning fog and drizzle, the bottom layer of bags had absorbed enough moisture from the ground that they turned hard as bricks.
When we broke one bag open, the powder inside had solidified.
Those 25 bags — worth around ₹9,000 — had to be thrown away. But the real loss wasn’t money — it was time. They couldn’t pour concrete for a full week while waiting for new material.
That’s how important cement storage becomes when winter moisture comes into play.
Ideal Conditions for Cement Storage
Before learning the steps, you must understand what conditions cement “likes.”
It prefers:
- Dry air (relative humidity below 60%)
- Moderate temperature (20–30°C)
- Zero contact with ground moisture or walls
- Shaded, well-ventilated space
Unfortunately, winter gives you the exact opposite. So the goal is to create a mini-dry environment inside your storage area, even when the outside climate is cold and damp.
Step-by-Step Guide: How to Store Cement Safely in Cold & Damp Weather
1. Choose the Right Location
Never store cement bags directly on the floor or near outer walls. Moisture seeps up from soil and walls during winter.
Instead:
- Select an indoor space with minimal temperature variation.
- Avoid areas close to bathrooms, kitchen walls, or water tanks.
- If possible, use a room facing east or south, where morning sunlight helps reduce dampness.
If no closed space is available, use a temporary cement storage shed — a small enclosure with waterproof roofing and proper ventilation.
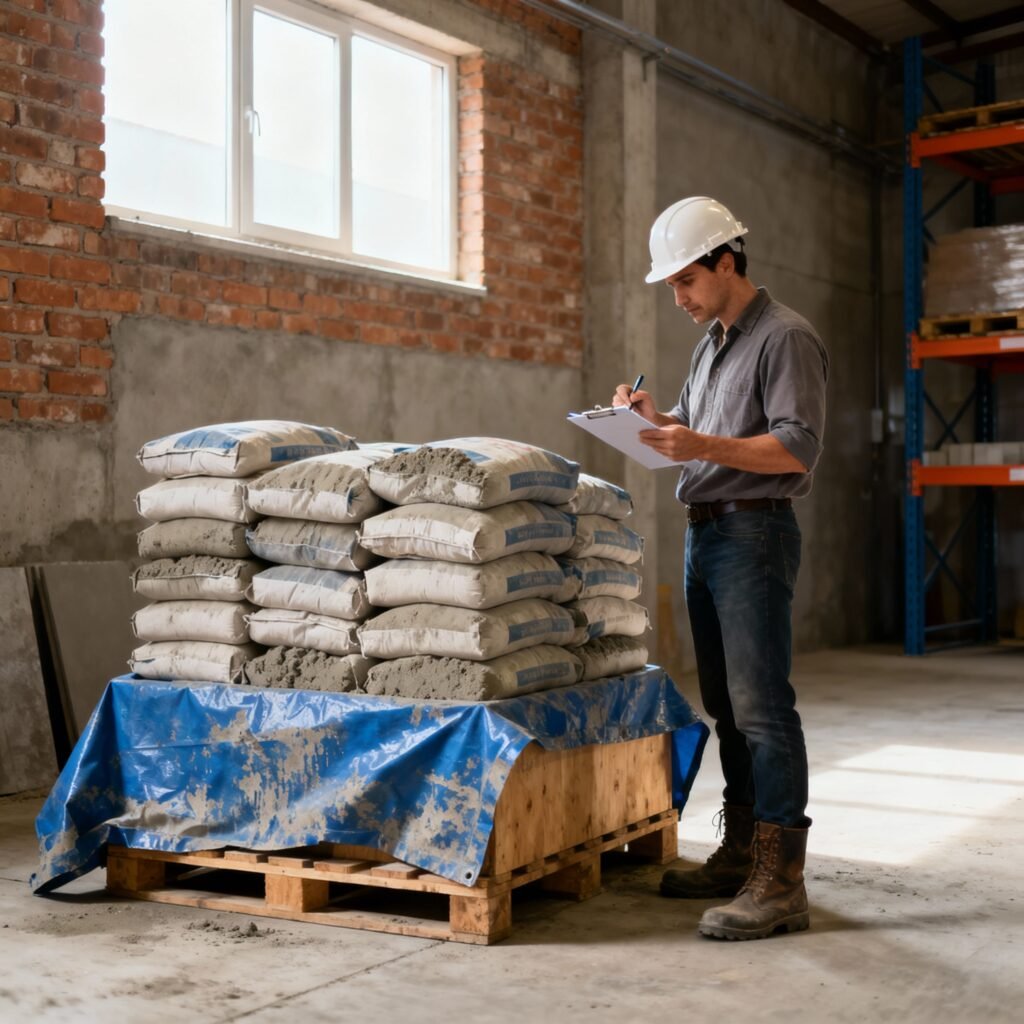
2. Elevate the Floor Properly
This is the most common mistake. People often think a plastic sheet is enough under cement bags — it’s not.
In cold weather, ground surfaces become cold and damp. The air moisture condenses beneath the plastic sheet and eventually seeps through.
Best Practice:
- Construct a raised wooden or brick platform, at least 150–200 mm above the floor.
- Cover the platform with a thick polyethylene sheet or tarpaulin before placing cement bags.
- Leave a 300 mm gap between the wall and the first stack to allow air circulation.
This simple arrangement can double the shelf life of your cement in damp conditions.
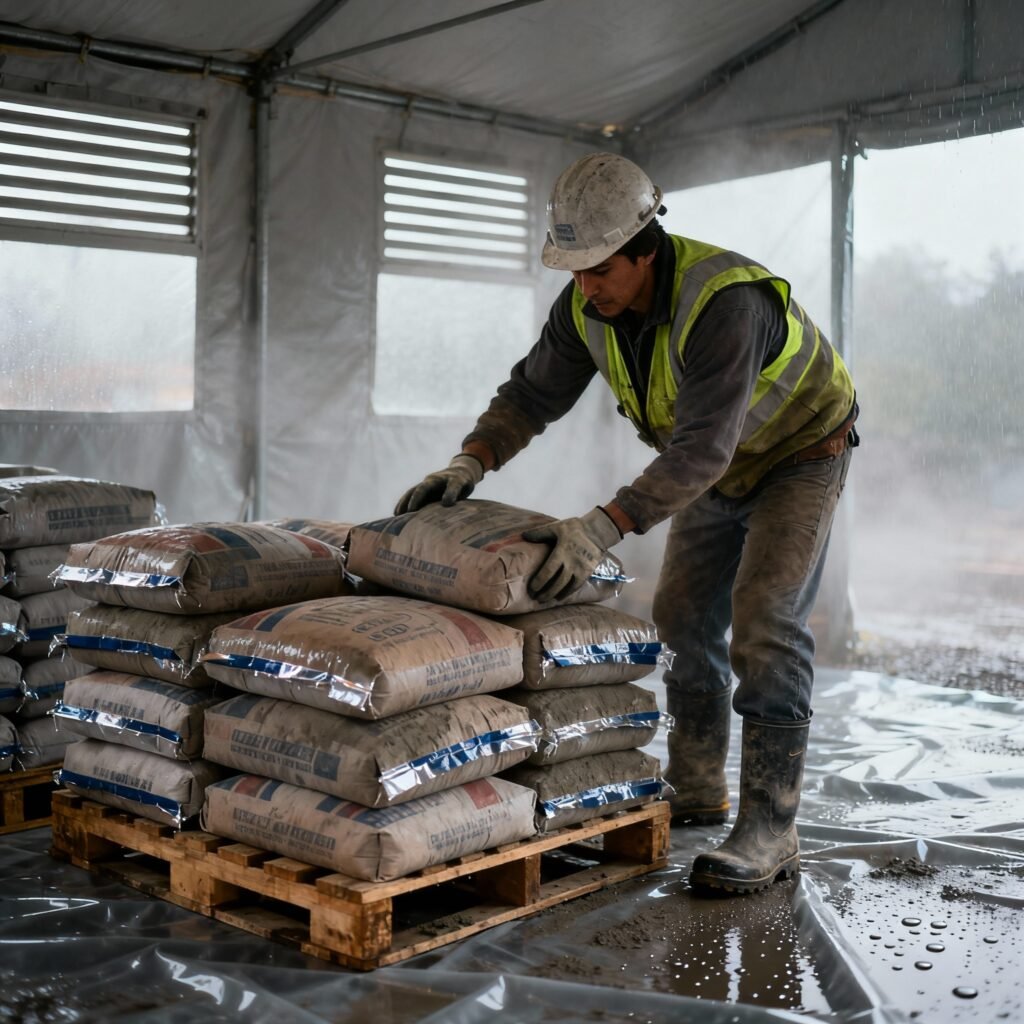
3. Stack Bags the Right Way
Stacking isn’t just about saving space — it determines how moisture travels between bags.
Do this:
- Stack cement bags in a pyramid or crisscross pattern — it allows air to flow between layers.
- Keep the stack height under 10 bags (about 1.5 meters) to prevent compaction.
- Arrange bags so the printing side (mouth of bag) faces outward — this avoids moisture buildup on seams.
- Never place newly arrived bags on top of old ones — always use the “first in, first out” system.
4. Cover Bags Properly
Covering is not about wrapping everything tight — it’s about shielding from moisture while allowing limited airflow.
Use a thick tarpaulin sheet over the stacks, but keep it slightly loose on the sides to prevent condensation from getting trapped inside.
If the area is too cold, line the inner side of the cover with old jute sacks for insulation.
Always check the cover daily for water droplets on the underside — a sign that humidity is condensing.
5. Avoid Direct Contact with Cold Walls
Cold concrete walls often “sweat” when humid air meets them. That’s why even sealed cement bags can get damp if stacked directly against the wall.
Maintain a minimum 1-foot (300 mm) gap between any cement stack and the wall.
You can also place wooden battens vertically to act as spacers.
6. Ensure Proper Air Circulation
Ventilation may sound risky in cold weather, but it’s necessary. Stale air builds up humidity.
Allow light ventilation during the daytime when temperatures rise slightly. If the storage room has no windows, install a small exhaust fan or vent grill near the ceiling.
Avoid opening the space early morning or late evening — that’s when outside air is most humid.
7. Monitor Regularly for Moisture Signs
Once cement is stored, the job isn’t over. You must inspect daily in damp months.
Check for:
- Sweating on walls or tarpaulin.
- Soft bags or those that feel heavy and uneven.
- Clumps when you press the bag gently.
If you spot early moisture, rotate the stack — shift top bags to the bottom and vice versa. It prevents moisture from settling on one side.
8. Avoid Long Storage in Cold Weather
Cement has a shelf life — and cold weather reduces it further. Ideally, use your stock within 60 days of manufacturing during the winter season.
The longer it sits, the more likely it is to absorb atmospheric moisture, even in perfect storage.
If your project timeline stretches, buy smaller quantities more frequently instead of one big bulk order.
9. Don’t Store Opened Bags for Long
Once you cut a cement bag, its protection is gone. Even folded and tied, it keeps absorbing air moisture.
If you must store opened bags:
- Transfer the cement into airtight plastic bins or metal drums.
- Place silica gel pouches or small desiccant bags inside to absorb humidity.
- Label them “opened” and use them within a week.
Myths About Cement Storage You Should Stop Believing
There are plenty of myths floating around at construction sites — here are the top ones that cost people real money:
Myth 1: “If cement turns slightly hard, just crush it and use it again.”
Wrong. Once cement starts setting, even slightly, its binding compounds are already reacting. Crushing it only breaks the lumps — not reverse the reaction. Strength loss is permanent.
Myth 2: “Cold weather keeps cement safe because there’s no heat.”
Wrong again. Cold air often carries high humidity and condensation risk. So cement actually spoils faster if not insulated.
Myth 3: “Plastic covers are enough for storage.”
Not true. Plastic only blocks direct water — it doesn’t stop vapor. You need elevation, spacing, and controlled ventilation, too.
Real Site Tips from Experience
Over the years, I’ve learned a few small tricks that make a big difference:
- Spread a thin layer of dry sand under the platform to absorb floor moisture.
- Stack bags on wooden pallets if available — they’re reusable and reliable.
- Store different cement brands separately; never mix bags from multiple suppliers.
- Always check the manufacturing date before buying. Old stock reacts faster to cold humidity.
- Don’t store near lime, fertilizers, or chemicals — they can contaminate the cement.
And here’s one pro tip most people miss:
When you open a cement bag in cold weather, close it tightly again after use. Don’t leave it half-open overnight, even if you plan to use it the next day.
That single habit can save half your stock from damage.
What Happens If You Use Moist Cement
Even if you think “it’s just a little clumpy,” using slightly damp cement can cause big issues later.
Here’s what you risk:
- Reduced the strength of concrete or mortar.
- Poor bonding between bricks or plaster layers.
- Cracking and flaking on the walls after a few months.
- Wastage of sand and aggregates occurs since the mix ratios fail to hold properly.
Moist cement doesn’t fully hydrate when mixed — it has already reacted partially. The result is a weaker, inconsistent construction that won’t last.
So, saving a few bags today by using spoiled cement can end up costing you repairs worth thousands later.
Best Practices Checklist for Winter Cement Storage
Before wrapping up, here’s a quick on-site checklist you can follow during cold or damp months:
Store cement in a closed, dry room or shed.
Raise the stack 6–8 inches above ground level.
Keep 1-foot spacing from walls and between stacks.
Cover stacks loosely with thick tarpaulin.
Use cement within 2 months of manufacturing.
Rotate bags regularly (first-in, first-out).
Check for clumps weekly and remove affected bags immediately.
Never store near water sources or bathroom walls.
Allow daytime ventilation for 1–2 hours.
Always inspect before mixing.
Stick to this routine, and even during the dampest winters, your cement will stay fresh and strong.
The Bottom Line
Cement is like the heart of construction — strong only when it’s alive and dry.
You can buy the best brand, hire skilled masons, and still end up with weak walls if your cement absorbs moisture before use.
Cold and damp weather doesn’t just test your patience — it tests your preparation.
A small leak, a careless stack, or a missing tarpaulin can silently ruin what holds your home together.
So before the winter fog sets in, inspect your storage space, elevate the bags, and keep everything airtight and dry.
Because good construction doesn’t start at the mixing site — it begins right where your cement is stored.


Very informative you are doing great work man keep it up..